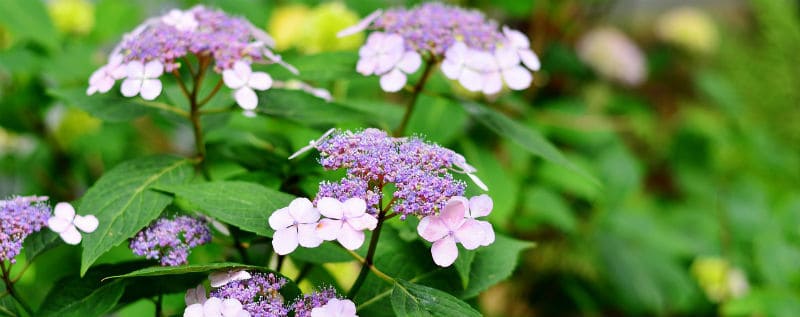
What time of year do you take hydrangea cuttings
Our site is reader supported, this means we may earn a small commission from Amazon and other affiliates when you buy through links on our site.
One of the most rewarding things about growing your own plants and caring for the long-term is the fact that you can propagate or grow additional plants from your existing ones.
This is true of hydrangeas. With every type of
The answer to that is contingent upon the variety. In most cases knowing when to take hydrangea cutting pieces is going to be before the new growth has developed. You have to be cognizant of the growth you are clipping so that you don’t accidentally remove the developing flowers which are already preparing for the upcoming season.
When to take hydrangea cutting
The best time to take your hydrangea cuttings and propagate new hydrangeas is the spring time when your plant is starting to leaf out but you can take your cuttings all the way through early fall on your leaves are still green and lush (color of course contingent upon the variety as some hydrangeas produce red and orange leaves when they are lush in the fall).
The best time to take hydrangea cutting pieces is when you are ready to propagate. You don’t want to take the cuttings and then leave them to sit for days or weeks before you plant them, get them planted straight away.
However, from late June or early July is the best time to cut and propagate as the plants will be at their richest growth level and have the highest success rate with root development.
How to take hydrangea cuttings
When you are ready to take your hydrangea cuttings you should start by getting the sharpest set of gardening secateurs or a very sharp knife.
- You want to sterilize the tools you are going to use. This is particularly important if the tools you use are also used throughout the rest of your garden.
- All it takes is one unsterilized tool for you to accidentally transfer fungus, bacteria,
mildew, or something else from one part of your garden to another and when you are trying to propagate, your new cuttings need as much support as possible and one unsterilized tool can ruin all of your efforts. - There are plenty of methods out there for sterilizing tools. You can mix 9 parts water to 1 part bleach, you can use a mixture of dish soap and water, or you can find a natural sterilizing agent at your local Nursery or gardening store.
- After you have sterilized the tools you want to cut lengths approximately 5 or 6 inches. It is possible to take multiple cuttings from a single Branch but you don’t want to cut too far down or you’ll damage the mother hydrangea.
- Once you have clipped your cuttings you want to leave two leaves, one pair at the top of the cutting and carefully remove all the other leaves.
How to propagate with hydrangea cuttings
Once you have your cuttings properly clipped and ready to go, it is in your best interest to dip the end opposite the two leaves into a rooting hormone. Rooting powder can help encourage root growth much faster for your cuttings.
- Take the pots or containers where you’re going to propagate and fill them with potting soil, ideally one
specially mixed for cutting. Take the end of a pen, pencil, or other similarly shaped object and make a hole straight down in thecenter of the soil. - After dipping the clipping into hormone rooting powder, dip it directly into the hole you have created and cover it with soil so that the plant stands upright.
- Make sure to water immediately from the top and the bottom until you have verified that the water has
traveled all the way through the soil and the soil is now moist. - It is important to keep the cuttings properly covered for the first month or so while the roots develop. Effectively you were going to make miniature greenhouses and this can be achieved through many methods. You can cover the cutting with plastic in the form of a plastic bag, a ziplock bag, plastic wrap, or a plastic top. Some people even propagate in things like Styrofoam cups and then place a larger plastic cup upside down on top to create a seal. The idea here is just to make sure that whatever you use for the top doesn’t come into direct contact with your clipping. For many people this just means as the clipping starts to take root and perhaps get taller, the tops are changed or swapped out for something with a little more height.
In about a month or two, your hydrangea cuttings should be ready for transplantation into a larger pot or into your garden directly,
Image by congerdesign from Pixabay